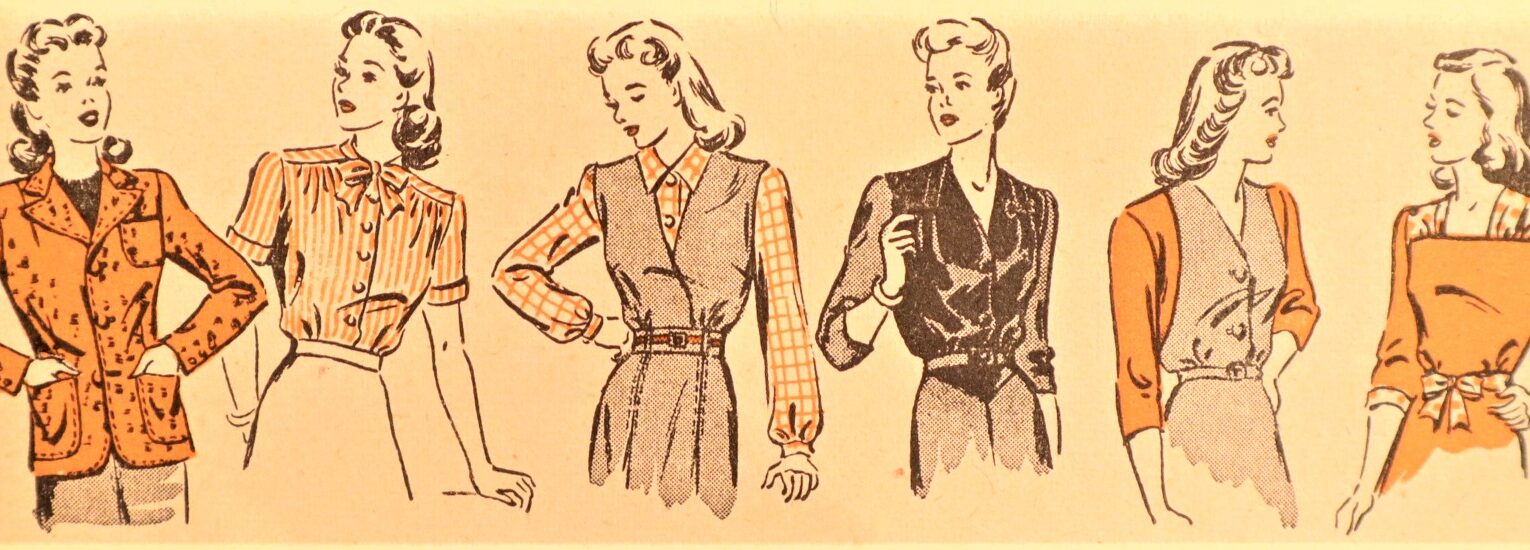
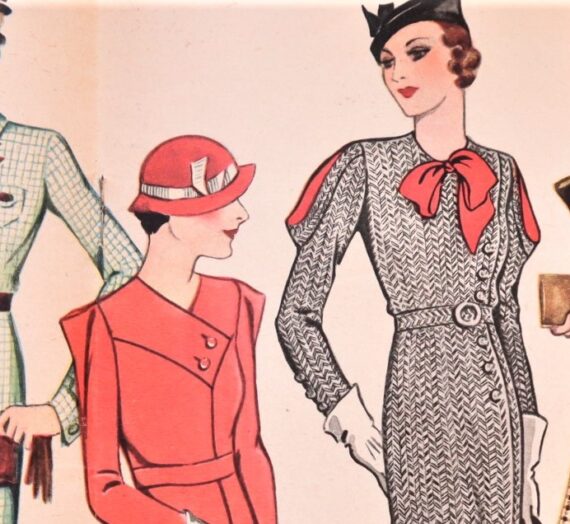
Just as there are many sleeve styles in vintage garments, so is true with cuffs. Whether you desire to close your wristband with loops and buttons, a zipper or snaps, this tutorial will show you the ins-and-outs of cuff construction.
Loops and Buttons in A Tight Sleeves

- Face lower edge and opening with seam binding, mitering the corners.
- Work loops on one side and sew buttons on the other.
Loops and Buttons in A Pleat

- Pin in a pleat on outside of sleeve to fit wrist snugly.
- Turning pleat toward back of arm, work thread loops on fold of pleat.
- Sew buttons to sleeve opposite loops.
Tight Sleeve Finished with Snaps

- Pin, baste and stitch ribbon seam binding around edge and lap on right side of sleeve, mitering the corners.
- Turn to wrong side of sleeve and hem.
- Sew snaps under lap.
Puffed Sleeve With Casing And Elastic

- Turn sleeve inside out and turn back hem wide enough to allow for elastic.
- Stitch, leaving opening at seam.
- Run elastic through to fit wrist, sew ends and finish opening.
The Turn-Back Cuff

- Matching notches, sew right side of cuff to wrong side of sleeve.
- Turn cuff to outside and hem, covering raw edges.
- Roll cuff back to hide the place where you hemmed it.
Slide-Fastener Closing

- Stitch a facing to back of opening.
- Close zipper and stitch front edge of opening over it, having pull above opening.
- Stitch back of opening over tape.
- Face lower edge to catch in tape, slip-stitching edges at lap.
Buttoned Cuff

- Baste straight strip of material as a facing outside of sleeve along given slash-line.
- Stitch 1/8-inch each side of line to a point at top.
- Slash between the stitching.
- Turn and press.
- Turn under, stitch facing edges and blind-stitch to inside of sleeve.
- Edge-stitch opening.
- A bound buttonhole is made in cuff before seaming the ends.
- Stitch cuff over gathered sleeve and hem the free edge over the seam inside.
- Finish the buttonhole and sew on the button.
Shirt Sleeve Cuff

- a- Join underlap as shown.
- b- Join overlap.
- c- Lap extensions and top-stitch upper end.
- d- Make cuff with cambric interfacing. Gather bottom of sleeve and join cuff to it. Top stitch all around on outside.
- e- Shows single cuff with button closing.
- f- Double cuff with cuff links.
Decorative Slashed Facing

- a- Reverse sleeve seam for 1/2-inch less than depth of finished facing.
- b- Turn seam allowance to wrong side on upper edge of facing, baste and press. Baste facing to sleeve, with right side of facing against wrong side of sleeve. Stitch around lower edge, and around slash, as shown.
- c- Turn facing to outside. Top-stitch or slip-stitch.
Adjustable Band Sleeve

- Stitch unfinished end of band into the sleeve seam an inch or two from bottom of sleeve.
- Turn up hem.
- Make buttonhole in band and sew on button to draw in sleeve.
Two-Piece Jacket Sleeve

- Turn back hem, mitering corners on inside of sleeve, having a wide enough hem on one side of lap to face buttonholes.
- Sew buttons to lap to correspond to buttonholes.
Continuous Extension Fold

- Make cuff and turn right side out.
- Finish opening in sleeve with continuous fold.
- Gather sleeve with two running threads.
- Stitch one side of cuff over raw edges on right side of sleeve. Sew other side by hand neatly.


